Importing
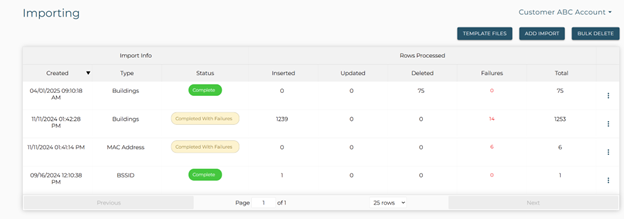
Navigate to the Importing page on the left sidebar. The Importing page will display the following about each Import entry:
- Created (date of import)
- Type of Import
- Current Status
- Number of Records Inserted, Updated, or Deleted
- Records that Failed to Import (Failures)
- Total number of Records
An Organization Administrator can expedite importing the following entries into the portal via CSV file upload:
- BSSID
- Buildings
- Device User
- LLDP Chassis
- LLDP Port
- Locations
- MAC Address
- Private IP Range
- Trusted IP Range
An Organization Administrator can also expedite the deletion of entries using the BULK DELETE function for the following entries into the portal via CSV file upload:
- BSSID
- Buildings
- Device User
- LLDP Chassis
- LLDP Port
- Locations
- MAC Address
- Private IP Range
In order to submit a file for bulk delete, the file can be created using the appropriate template or can be done using an export of the type of data to be deleted and edited so that only entries that need to be deleted remain in the file.
Template Files
In order to import a CSV file in the portal, the file must be created using a template that provides the exact format needed for a successful upload.
- Click the Template Files button in the top right of the Importing page to view a list of downloadable templates.
- Click the icon in the Download column for the desired template.
- Enter the appropriate data into the desired template and save the file.

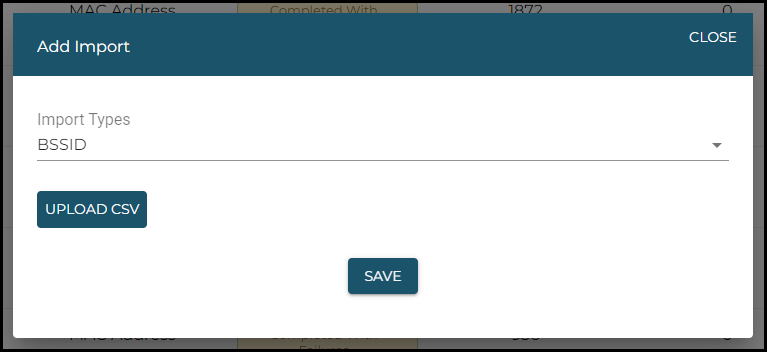
Add Import
To add a new Import:
- Click the Add Import button at the top right of the Importing page.
- Select the type of Import you will upload from the dropdown menu.
- Click Upload CSV.
- Select the appropriate file you wish to upload.
- Click the Save button.
After the import is complete, the table on the Importing page will display the number of records that were successfully uploaded, and how many failed.
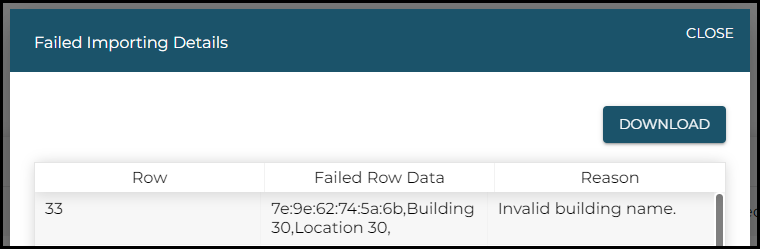
The Organization Administrator can click on the number of failures in order to see more details. These details include the following information: the Row, Failed Row Data, and the Reason the record failed to import.
Delete Import
- Select Delete from the action menu on the right side of the desired Import entry.
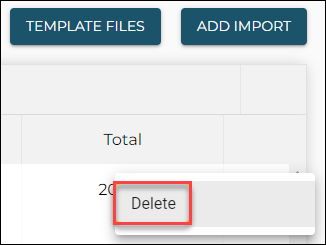
- Click Delete in the dialog box that displays to confirm.
Bulk Delete Import
To bulk delete entries:
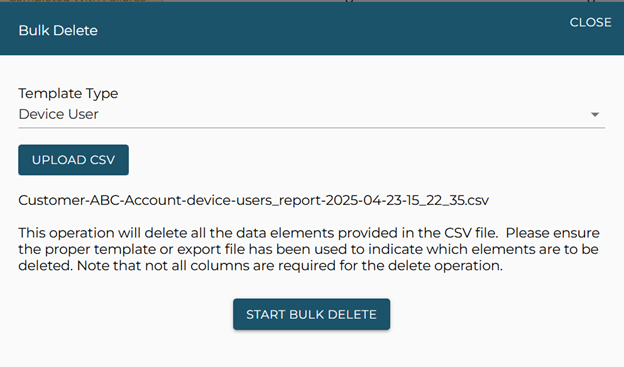
- Click the BULK DELETE button at the top right of the Importing page.
- Select the type of template you will upload from the dropdown menu.
- Click Upload CSV.
- Select the appropriate file you wish to upload.
- Click the START BULK DELETE button.
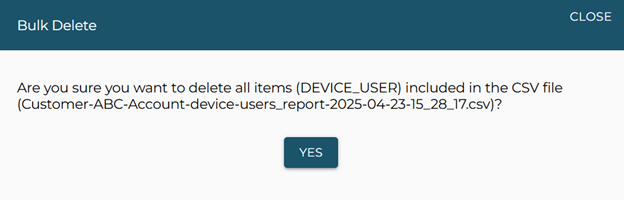
- Confirm that you want to delete all items included in the CSV file by clicking YES in the confirmation dialog.
After the Bulk Delete is complete, the table on the Importing page will display the number of records that were successfully deleted, and how many failed.
The Organization Administrator can click on the number of failures in order to see more details. These details include the following information: the Row, Failed Row Data, and the Reason the record failed to delete.
When doing a bulk delete operation, not all data fields in the template are used or necessary. Here are the details for each template type of the field required for a successful bulk delete operation:
- Device Users - Deletes all users using the email address. All other fields are ignored.
- Buildings - Deletes buildings using the name field, all other fields are ignored. The operation will delete any location associated with the building.
- E911 Locations - Deletes Locations using Location Name and all other fields ignored. For accounts with Building and Location hierarchy, the Building name is also required for this operation.
- Network Elements - MAC Address - Deletes MAC addresses as provided. Ignores all other fields.
- BSSID - Deletes BSSID as provided and all other fields are ignored.
- Switch - Deletes switches using the Chassis ID and all other fields are ignored. The operation will also delete any ports associated to switch the switches being deleted.
- Port - Deletes ports using Chassis ID and Port ID and all other fields are ignored
- Private IP Ranges - Deletes IP ranges using IP range start and all other fields are ignored.